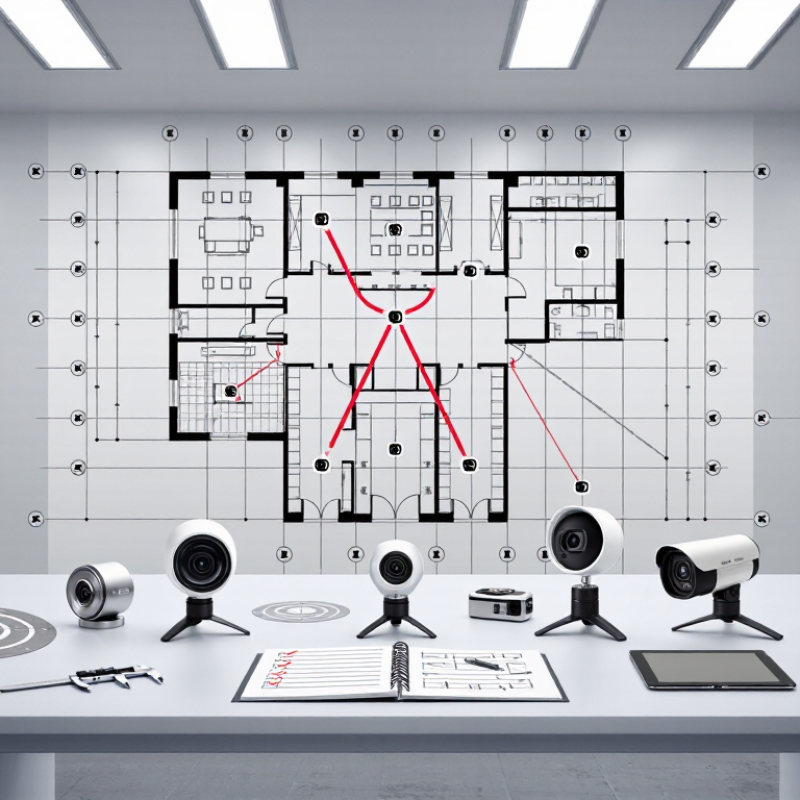
In 2026, camera registration is less about clicking through a setup screen and more about giving every camera a dependable place in a shared view. The K-Vision Camera Registration System can support that workflow, but exact menus and options may vary by model, software version, and installation. Check the current manufacturer documentation before changing settings. Small details matter: record each camera’s position, lens, mounting height, and orientation before calibration begins.
A useful photographic principle comes from Ansel Adams: “You don’t take a photograph, you make it.” He was not commenting on K-Vision, but the idea applies: careful setup shapes the result. Start with clean lenses, stable mounts, and consistent lighting. If your installation uses a calibration target, place it as instructed and keep it visible to the relevant cameras. Then review the registered views for shifted edges, mismatched horizons, or gaps near doorways. Test again after any camera or lens moves. It takes patience.
Registration is not a cure for every image problem. Poor focus, glare, or a loose bracket can still undermine the result. Keep a simple change log with dates and settings; it helps distinguish a configuration issue from a physical one. Be honest about uncertainty, too. A first pass may look convincing on a monitor and still need adjustment in the actual space. This guide explains a careful, repeatable approach—and where to pause and verify rather than guess.
Before registering a camera, check its exact model and serial number against the setup instructions for your system. Keep the label or packaging nearby; small characters can be difficult to read from a mounted device. Confirm that the camera has power and can reach a stable Wi-Fi network. Some models require a particular network band or updated firmware, so do not assume every setup works the same way. Check the current requirements before starting.
Your account should use an email address you can access, since verification codes or setup links may arrive there. If someone else manages the household account, ask them to confirm your access level before registration. A standard user may not be able to add devices. Review the app’s requested permissions, too; local-network or Bluetooth access may be needed during pairing, depending on the device. Avoid sharing passwords or verification codes. One detail is easy to overlook: the phone may be connected to a different Wi-Fi network than the camera. Check both screens. If a requirement is unclear, pause and consult the system’s current support instructions rather than guessing. Setup steps can change, and an old guide may miss a firmware or account update.
Before registering a camera, create an account or sign in through the system’s official portal. Use an email address you can access, since verification and recovery messages may arrive there. Choose a unique password and store it in a trusted password manager. Keep the camera’s model and serial number nearby; they are commonly printed on the device label or packaging. Small labels can be easy to misread, so compare each character before submitting.
After signing in, open the device-registration area and enter the requested details. Confirm the email address if prompted, then save the confirmation page or registration reference. If the camera does not appear, check for a typo and verify that you used the account linked to the purchase. The exact screen names may vary, and I would not assume every model follows the same flow. A little uncertainty is better than inventing a step.
Account care matters. The 2024 Data Breach Investigations Report found that 68% of breaches involved a non-malicious human element. That figure is a reminder to slow down before clicking account emails or sharing sign-in codes. Use a private device, avoid public Wi-Fi for account changes when practical, and never send your password in a support message. Keep the login details secure.
Open the camera registration page and choose the option to add a device manually. Enter the camera’s model and serial number exactly as shown on its label or setup sheet. Small errors matter. Check similar-looking characters, such as zero and the letter O, before saving. Depending on the system, you may also need a local IP address or host name, connection port, and device account details.
Keep the camera and registration screen on the same network during setup, unless the system supports another connection method. Use a unique, strong password, and enter it only in the trusted registration form. Don’t paste credentials into notes or screenshots. I still find this part easy to rush. After submitting, wait for the status to update, then confirm that the device appears online. If it remains offline, check the address, port, network connection, and account permissions; changing several settings at once can make the cause harder to identify. A live preview is a useful final check, but allow a short delay for the first connection. Interface labels can vary, so follow the prompts shown in your current system rather than assuming every version works alike.
A registration record is only useful if it matches the physical camera. Place the unit on a stable surface, then compare its serial number or QR label with the information shown in the setup interface. Check that the lens cover is clear, the status light behaves as documented, and the device has steady power. Small details matter.
Open the approved setup app or web portal and choose the option to add or register a camera. Follow the displayed prompts, connect it to the intended network, and check credentials for capitalization and spacing. Keep your phone or computer near the camera during pairing. Wait for confirmation, then refresh the device list and verify that the camera appears online with the correct name and location. If registration stalls, note the exact message, follow the manual’s restart instructions, and retry once. Don’t repeatedly reset it.
Before finishing, view a live preview and check image orientation, focus, and timestamp. Set alerts or recording options only as needed, and protect the account with a strong, unique password. The process can vary by model, so follow its on-screen guide. A label may be smudged, or a status light may be easy to misread; pause and check the manual instead of guessing. That extra check can prevent registration under the wrong room.
A camera registration system is easiest to manage when each entry matches the device in the room. Record its location, serial number, network address, and installation date. Use clear names, such as “North entrance—Lobby,” rather than “Camera 04.” Review the registered-camera list after equipment moves or replacements. Remove retired devices only after confirming they are no longer needed. Keep access limited to staff who manage camera settings, and review permissions when roles change. Small records matter.
When a camera appears offline, check its power and network connection before changing system settings. Confirm that its address has not changed and that the displayed time matches the local clock. A mismatch can make footage harder to locate. If registration fails, compare the entered device details with the label, then retry after a brief wait. Note the error message and time; these details help technical support identify patterns. A clean dashboard can still hide a loose cable, so check the physical setup too.
Tips: Keep a dated change log. Test one adjustment at a time, then confirm the camera returns to the registered list. If a fix works only briefly, record that. It may reveal a deeper network issue.
Confirm the exact model, serial number, power, and Wi-Fi connection. Check current setup requirements, since network bands and firmware needs can differ.
The registration form may request both details. Read the device label carefully; small characters can be easy to misread.
Use an email address you can access for verification or recovery messages. Choose a unique password and store it securely.
Not always. Check that your account has permission to register devices before starting.
Your phone and camera may be connected to different networks. Check both screens, and review any required app permissions.
Enter the model and serial number as shown. Some systems may also ask for a local IP address, host name, port, or device account details.
Check the address, port, network connection, and account permissions. Change one setting at a time; otherwise, finding the cause gets harder.
Wait for its status to update, then check whether it appears online. A live preview can help, though the first connection may take a moment.
The K-Vision Camera Registration System helps users connect a camera to an account and confirm that it is ready to use. Before starting, check that the camera is powered on, has a stable network connection, and meets the basic setup requirements. You will also need access to an account, so create one or sign in before adding the device. Keep the camera’s identifying details nearby to make the registration process easier.
After entering the device details, follow the on-screen steps to verify the camera and complete registration. Once it is added, review the camera list to confirm that the device appears correctly and can be managed from your account. If registration does not work, check the details you entered, your connection, and the camera’s status, then try again. These steps provide a clear way to register and manage a camera while addressing common setup issues.